Display Custom Material Controls: Cinema 4D, Redshift
When working with complex Redshift materials, it’s often useful to expose a few selected settings in the
It’s actually quite easy to set up, but the process isn’t very intuitive. Here’s a quick animation and a step-by-step breakdown of how to do it using a
- Create a Redshift material and open the
Node Editor - Create a
Group node — this will be your container for all custom inputs - Right-click the
Group node and selectAdd Input → Add New Input - Double-click the input to rename it to the parameter you want to control (in my case, IOR)
- Right-click the new input and select
Edit Port - Set the
Data Type you need. ChooseFloat for numbers. Close the window when done - Double-click the
Group node to open it - Drag the dot next to the input name into an empty space on the grid. In the popup that appears, choose
Add New Output - Go back to the main material and connect the new output port from the
Group node to the parameter you want to control (for example, IOR on the RS Material) - In the
Node Editor , select theGroup node and go toNode → Start Node in the top menu.
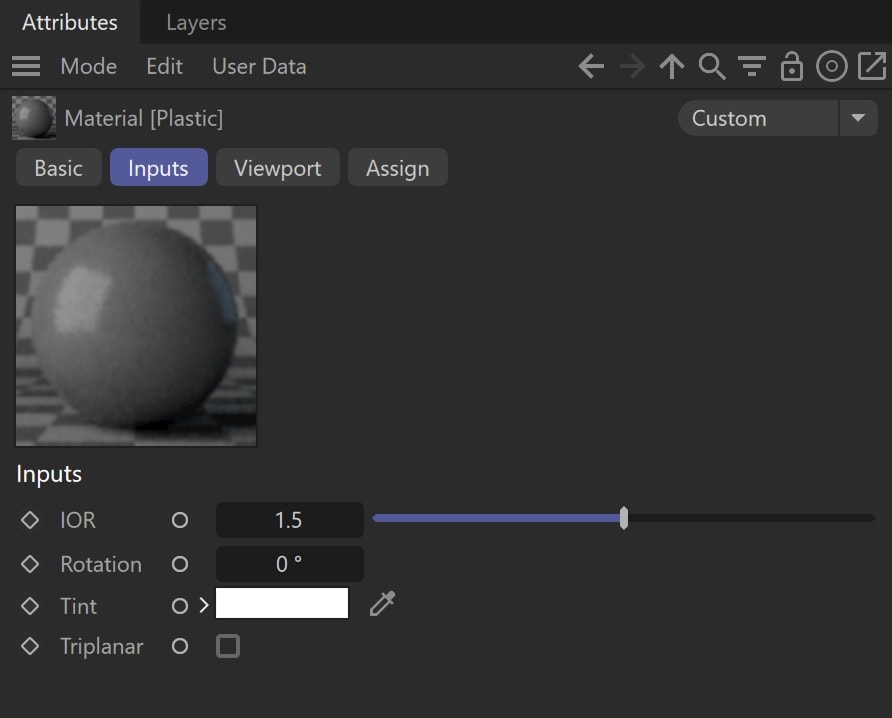
This will make your custom controls appear in theAttribute Manager
Now, whenever you select the material in the
Using this approach, you can add additional inputs to the same